


 16 / 38

New Mexico Dental Journal, Spring 2015
16
I have seen many hardware failures
pertaining to abutment screws come
through my office in the last several
years. Many of those are on older
implants, but a growing number are on
newer hardware with newer technology.
I categorize them into three groups:
loose screws, broken screws and broken
abutments.
Loose screws. This is a common fear
amongst clinicians, but with improved
screw technology and improved fit
of abutments, loose screws seem to
occur about as frequently with cement-
retained restorations as they do with
screw-retained ones. Screws can loosen
because they were never fully tightened
to manufacturer specifications. It sounds
obvious, but be sure that you apply the
final torque before cementing the crown.
If left only hand tightened, the screws
will surely loosen up at some point. My
experience is also that the frequency
of loose screws goes up when the fit of
the abutment is not ideal or when the
occlusion was not adjusted properly at
the time of delivery. Be very picky when
evaluating the fit of the abutment. Take
a radiograph to assure full seat. When
a loose screw is encountered early on,
oftentimes the screw can be accessed
through the crown much like a root canal
access and simply retorqued. If the screw
loosening persists, there may be a misfit
between the abutment and implant.
Broken screws. Broken abutment screws
usually occur when a loose screw is left
unaddressed. I make it a point to tell
every implant patient to call me if their
implant ever feels loose or wobbly. It is
much easier to tighten a loose screw than
it is to remove a broken screw. When a
screw does break, the broken segment
needs to be carefully removed so as to
not disturb the internal threads of the
implant or the implant platform. Many
implant companies make screw removal
tools (See Figure 9). Your local implant
representative can help you decide which
tool is appropriate for their particular
implant system. If you are not comfort-
able removing the screw, refer the patient
to a specialist who is familiar with
removing broken screws. (The same
applies for screws with stripped heads).
Broken abutments. With the intro-
duction of zirconia abutments, this is
becoming a more common occurrence.
When the abutment breaks, usually the
crown must be remade as well which
can be costly to either the patient or the
clinician. While zirconia abutments have
been shown (ref) to be successful like
Ti or Au abutments, greater care must
be used when seating the abutments.
If the abutment is not seated fully, or
seated incorrectly, and then torqued
into place, a fracture of the zirconia can
occur. Know your hardware well and use
radiographs to help verify proper seating.
It is also important to use radiographs
to verify complete seating of impression
copings prior to sending the case to the
lab. This will help prevent a misfit and
possible fracture. Finally, be careful
of the load that will be placed on the
implant/abutment. As a rule of thumb,
titanium is a better option for molars
or cantilevers than zirconia. “Common
sense can save you a lot of dollars and
cents”.
On just a handful of occasions I have
seen broken implants, but it is a rare
occurrence that for the most part can
be avoided simply by using a quality
brand implant sized for the appropriate
position (See Figure 10). While mini
implants do have their place in dentistry,
it is the author’s opinion that mini
implants and narrow diameter implants
should not be used to replace posterior
teeth. Furthermore, when using narrow
diameter implants, consider splinting
them with other implants to provide
adequate support for the prosthesis.
Remember that the masticatory system
can generate very strong forces that can
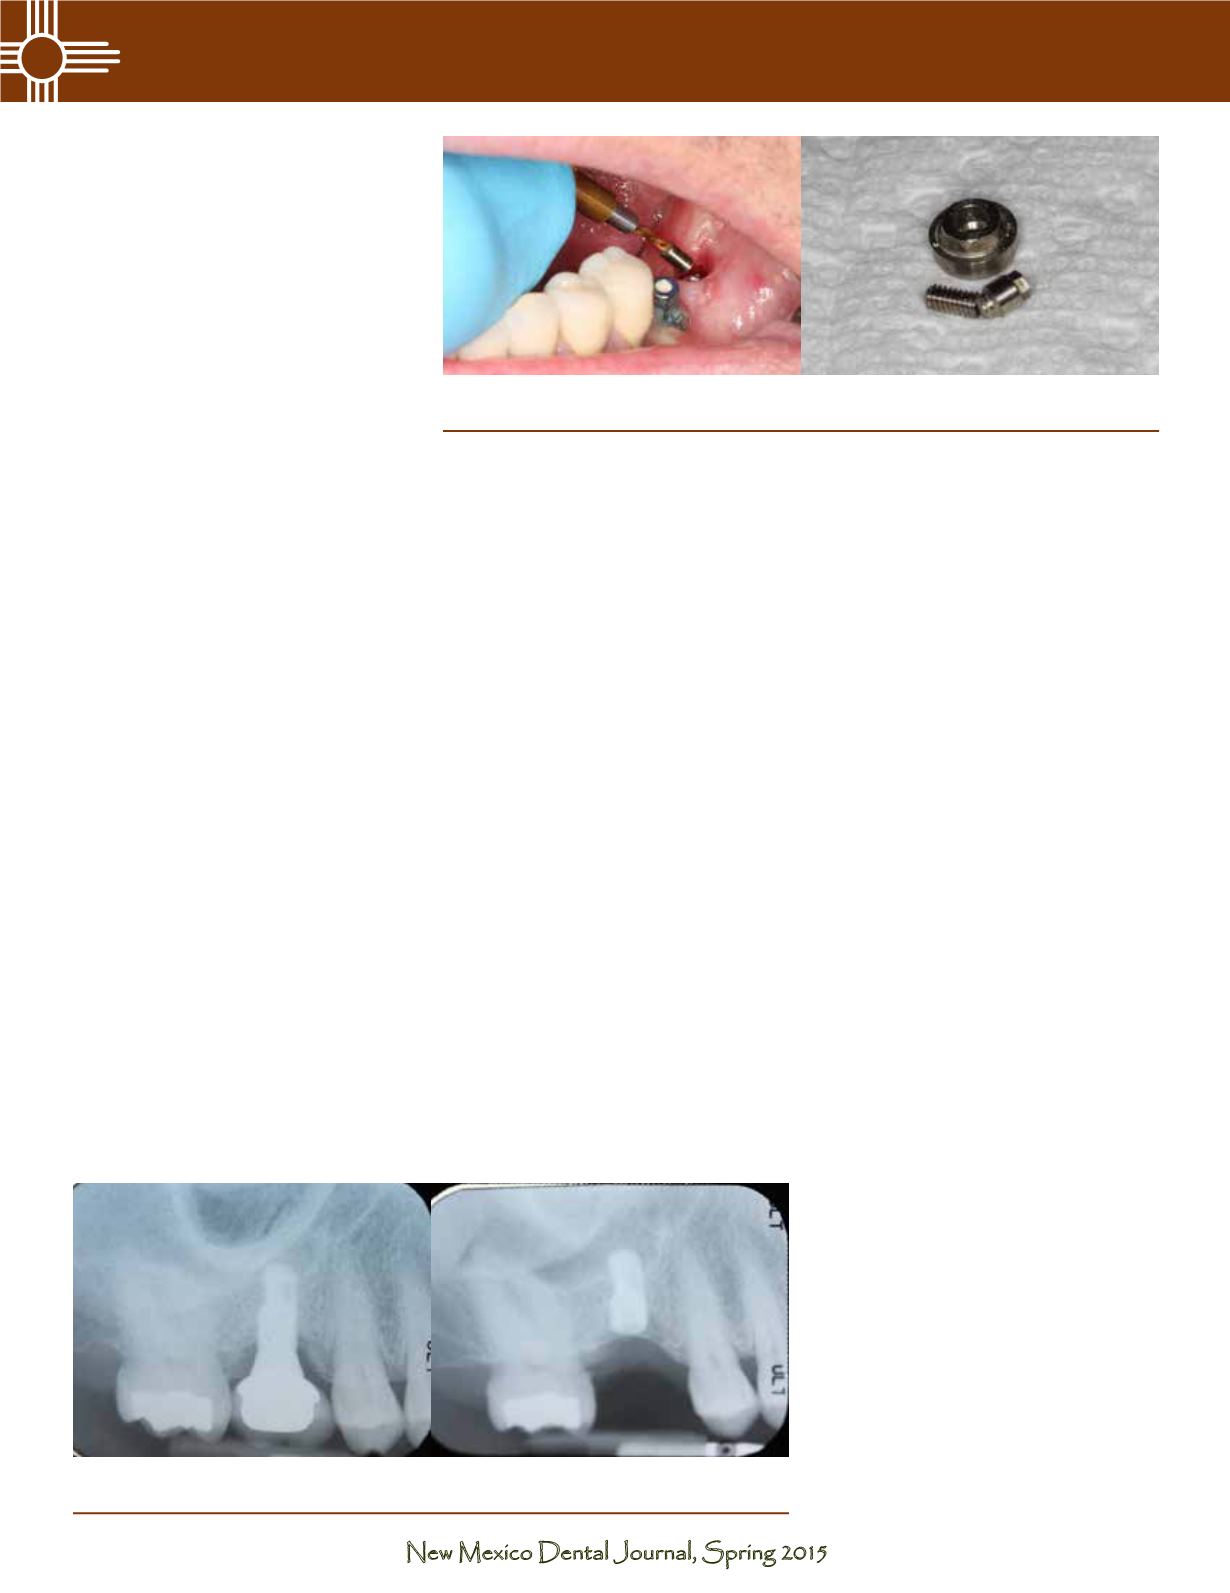
Fig 9
—Implant abutment screw fractured after 11 years of service. The fractured screw was
removed with a screw removal tool (Biomet 3i) and a new abutment screw was later placed.
Fig 10
—Before and after radiograph of a broken implant. The implant was later
removed and replaced with a wider diameter implant.
Before
After
Five Common Implant Complications,
continued